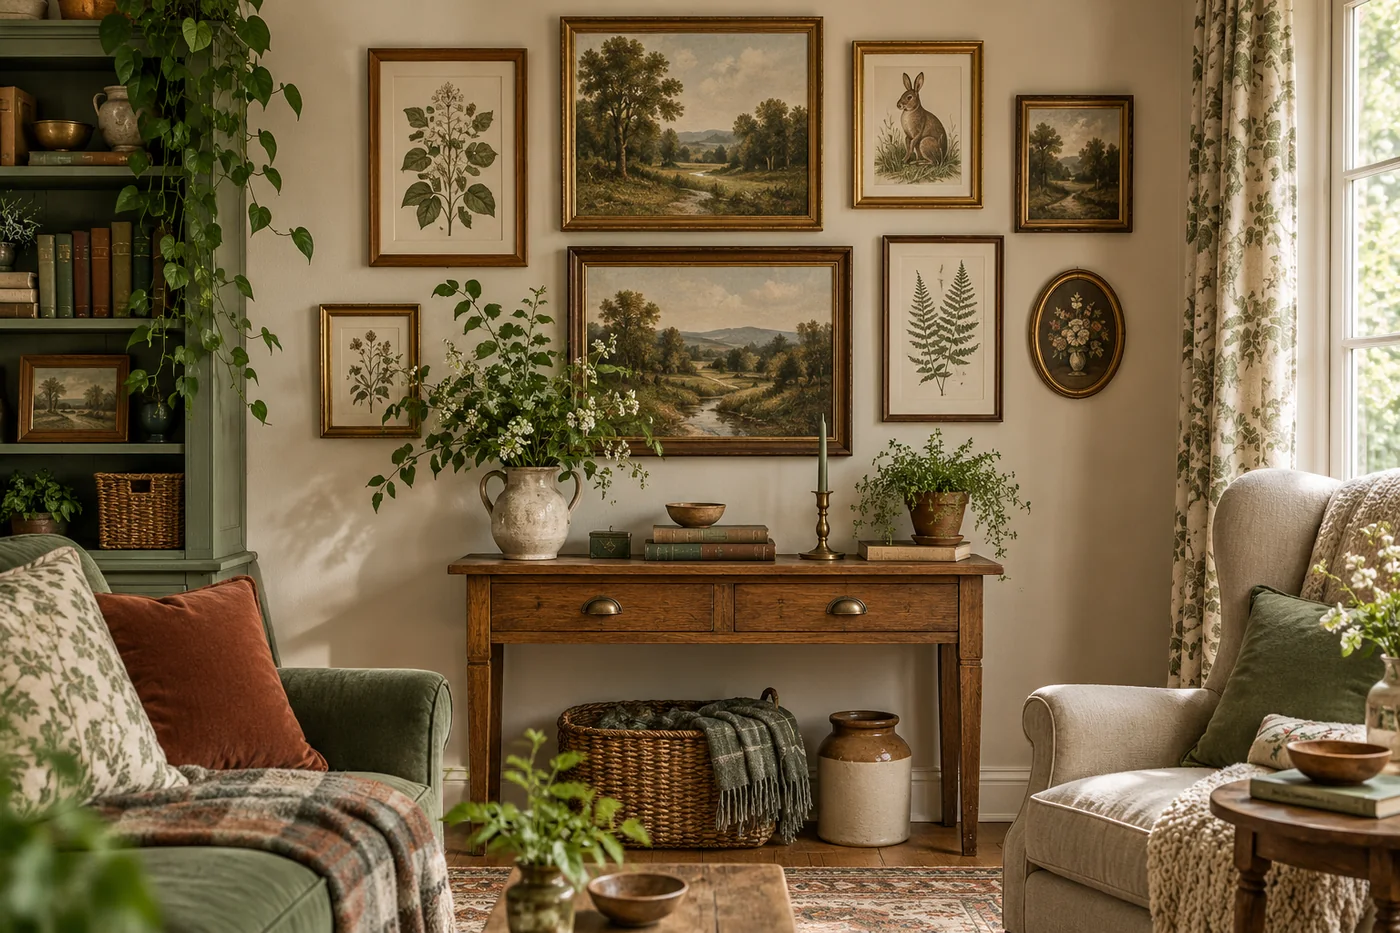
A cottagecore gallery wall should feel as though it grew over time: a pressed-looking leaf beside a small landscape, a favorite animal illustration tucked near a family photograph, a frame that came from a flea market next to one you already owned. The charm comes from a sense of connection, not from making every piece match.
The easiest way to begin is to collect artwork that feels right to you, then give it a few shared details so the group feels at home together. A restrained color palette, a mix of frame sizes, and a little breathing room are usually enough. You do not need a perfect eye or a wall full of expensive originals. You need a plan you can live with and the patience to adjust it before the first nail goes in.
Start with the feeling you want
Before choosing prints, think about the mood of the room and the story you would like the wall to tell. A bedroom might call for a quieter grouping of soft botanical studies and muted landscapes. In a reading corner, you could bring in bookish details, small woodland animals, or a print that reminds you of a favorite place. A dining nook may suit garden imagery and a little more color.
Write down three or four words for the feeling. “Soft, leafy, old-fashioned, and calm” is a useful brief. “Everything cottagecore” is less useful because it gives you no way to decide what belongs. Keep the brief nearby while you collect pieces. If a print is lovely but does not support the feeling, save it for another room.
Then choose one anchor piece. It might be the largest print, a painting you already own, a photograph, or a botanical illustration you return to again and again. The anchor gives the rest of the wall a reference point. It does not have to sit exactly in the middle, but the other pieces should feel as if they have a reason to be near it.
Choose a small, forgiving color story
Pick two or three main colors from the room, then add one quieter background color such as cream, parchment, or warm white. For a woodland look, that might mean deep green, muted rust, and ochre, softened by natural paper. For a lighter cottage room, sage, faded blue, and brown can sit comfortably beside warm ivory.
The colors do not need to appear in every frame. Look for repeated notes across the artwork: a similar shade of green in a plant study and a landscape, or a warm brown that appears in a dog portrait and a frame. Repetition helps the eye travel around the wall. A small difference in tone keeps the arrangement from feeling like a matching set.
It also helps to notice the wall and the things around it. Bright white trim, patterned wallpaper, a dark headboard, or a nearby bookcase all affect how the prints will read. If the room already has several strong patterns, keep the artwork quieter. If the room is simple, a little variety in the prints can add welcome character.
Mix subjects with a common thread
Botanicals, animals, small landscapes, vintage-inspired motifs, and personal photographs can all work together. The common thread might be color, line style, era, subject, or simply the feeling you want to keep. For example, a fern illustration, a moth, and a small woodland scene have different subjects but share a connection to the natural world.
Try not to treat a theme as a checklist. A cottagecore wall does not need a mushroom, a butterfly, a cottage, and a rabbit in equal measure. One or two specific motifs can make the wall feel personal; too many obvious symbols can make it feel like a shop display. Leave room for quieter pieces, such as a soft landscape or an abstract study of leaves.
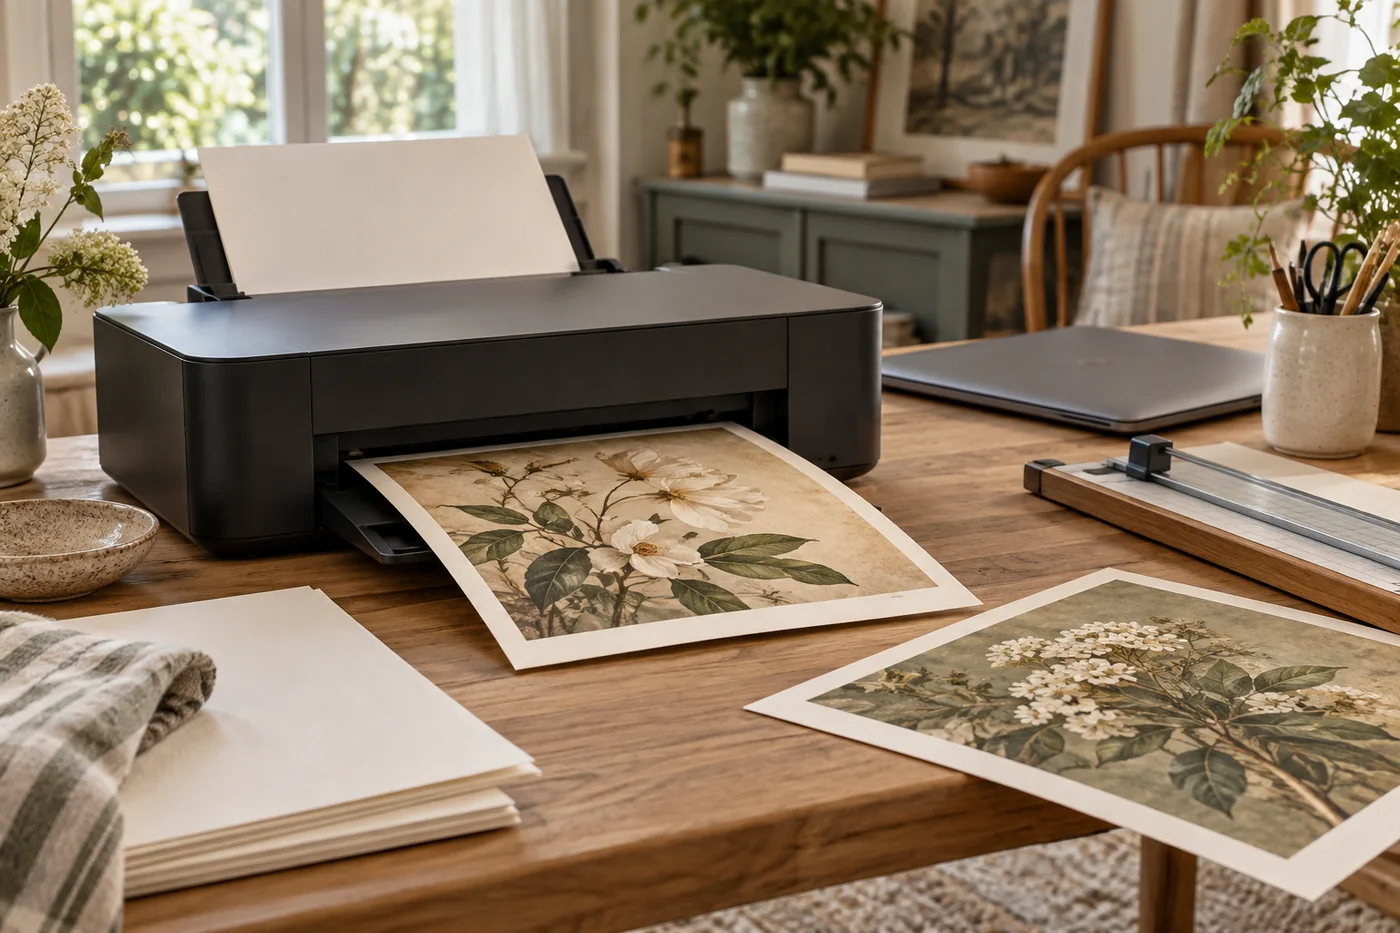
Printable art can make this collecting process easier because you can choose a size that suits the space and replace a print later without starting over. If you want to mix downloaded pieces with originals, use similar paper tones or frames to help them sit together. Cedar Clover Market has nature-inspired printable artwork that can work as one part of a larger, personal collection; choose a design because it belongs in your room, not simply to fill a gap.
Vary frame sizes, then repeat a few details
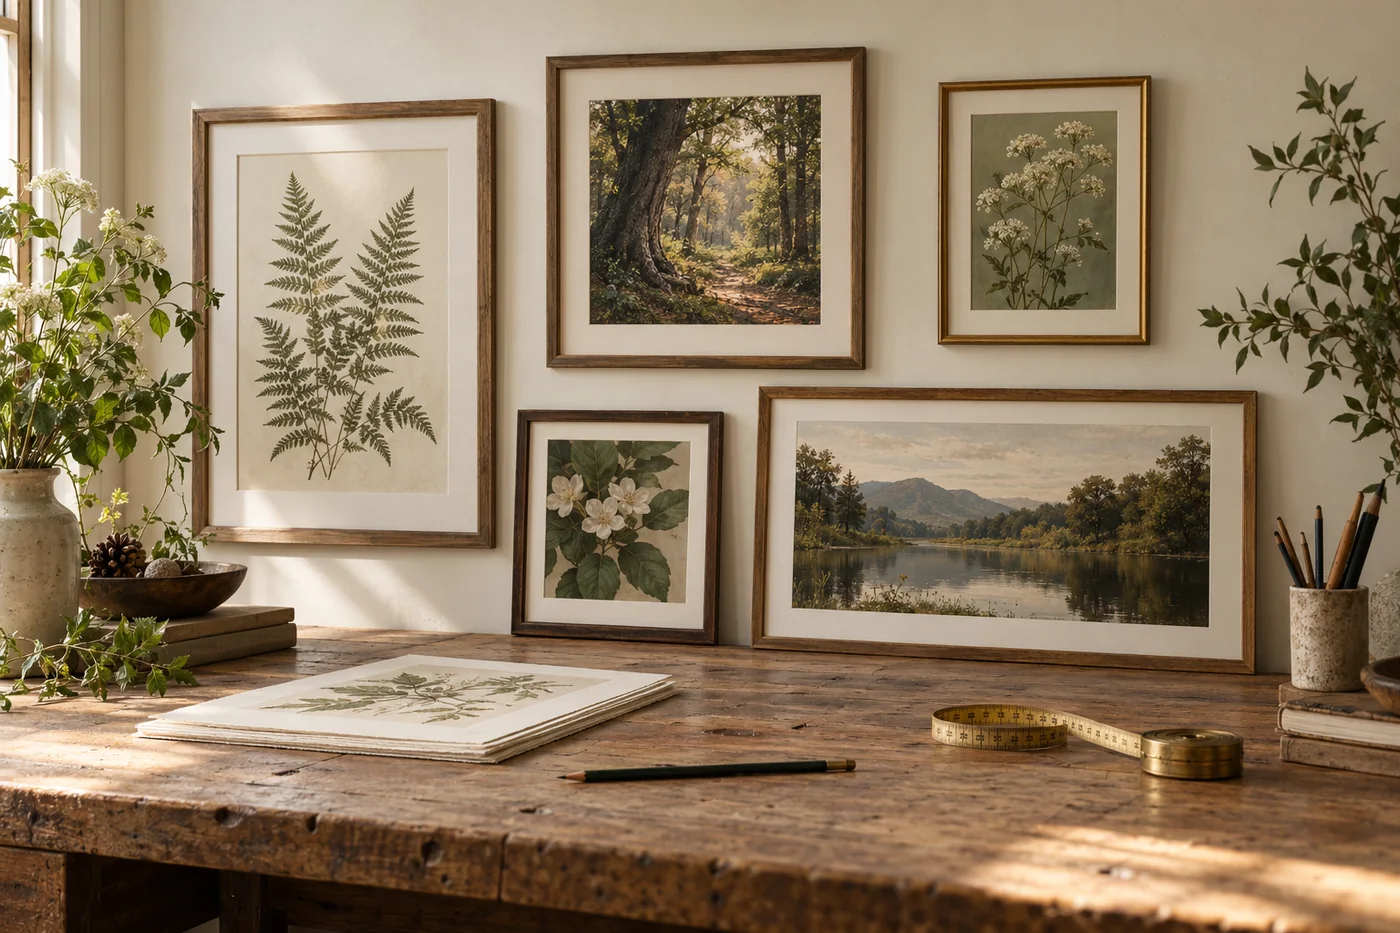
A wall made entirely of identical frames often feels formal. A wall made of frames with no relationship at all can feel unsettled. The middle ground is to vary the sizes while repeating a few finishes. You might combine two larger frames with several smaller ones, or use one portrait, one landscape, and a couple of small square works.
Use frame finishes to make the grouping feel intentional. Natural wood, aged brass, and a small amount of dark brown can work together when the colors echo something already in the room. You can also use the same frame in different sizes and let the artwork provide the variety. Mats help: a generous cream mat can give very different prints a shared border and make a modest-size image feel more substantial.
Lay out all your frames before you buy more. The empty frames show you the rhythm of the sizes and help reveal where a gap really needs something. You may find the composition needs one small piece, not five. And if you are printing new art, choose the frame size first, then select a file with a compatible ratio; our guide to printable wall art sizes explains how common proportions relate to frame dimensions.
Build a shape that feels balanced
Gallery walls do not need a strict grid, but they benefit from an invisible outline. Imagine a broad rectangle around the whole arrangement. Keep the visual weight inside that boundary reasonably even, with a larger frame balanced by a cluster of smaller pieces rather than left alone at one edge.
Begin with the anchor, then place the next largest frame near it. Add smaller works around those two. Step back every few pieces. If one side looks heavy, move a darker or larger frame closer to the middle, or add a small artwork on the opposite side. Dark frames and saturated images often draw more attention than pale ones, even when they are physically the same size.
Spacing does not have to be exact, but consistency is calming. Leave a few inches between medium and large frames, then use a little less space around very small pieces. Keep the outside edge loose enough that the grouping does not look boxed in. If you are hanging the arrangement above furniture, make sure the overall width feels connected to the piece below it rather than floating as a tiny island.
Arrange it on the floor before you hang
The floor is a helpful first draft. Lay the frames out on a blanket or clean sheet, then take a photograph from above. Move pieces around and compare the pictures side by side. You can also trace each frame onto kraft paper or plain wrapping paper, cut out the shapes, and tape the templates to the wall with painter’s tape.
The paper-template method lets you live with the arrangement for a day. Walk past it, sit in the room, and see whether the grouping feels too high, too wide, or crowded by a lamp or doorway. Mark the hanging point on each paper shape once the layout feels right. Check how the hanging hardware sits on the real frame before transferring those marks; the top edge is not always the same distance from the nail as you expect.
If you are unsure, start with fewer pieces. It is easier to add one small frame later than to make a crowded wall feel quiet again. The arrangement should leave space around furniture, switches, and nearby windows so the artwork can be read as a group.
Hang it with the room in mind
The center of the group should usually sit close to a comfortable viewing height, then shift as needed for the furniture. Above a sofa, bed, or console, relate the frames to the furniture rather than measuring from the floor alone. A small gap between the furniture and the lowest frame helps them feel connected without making the wall look cramped.
Use picture hooks suited to the wall and the weight of each frame. For a rental or a plaster wall, check the fixing instructions and weight limits for the hanging method you choose. Do not assume adhesive strips or a single small nail are suitable for every frame. If several frames need to line up, use a level and measure from one consistent reference point.
Avoid the usual snags
- Buying every print at once: collect the anchor and a few supporting pieces first, then let the wall show you what is missing.
- Choosing by theme alone: a subject can fit the theme but still feel wrong for your room’s color and mood.
- Making the wall too symmetrical: a loose, balanced arrangement often feels more collected than mirrored pairs.
- Mixing too many frame finishes: variety works best when a couple of finishes repeat.
- Ignoring the mat and frame: the border around the image is part of the composition, not an afterthought.
- Hanging before testing: paper templates can save you from filling extra holes and making a rushed decision.
Let the collection stay personal
A cottagecore gallery wall is not a finished recipe. It can grow as you find a print you love, frame a small photograph, or bring home a piece from a trip. Keep one or two spaces open if you know you like changing things with the seasons. Otherwise, let the art you already own be enough.
When the colors feel connected, the sizes have a comfortable rhythm, and the subjects mean something to you, the wall will feel collected. That feeling matters more than matching every frame or filling every inch. Start with what you love, make a simple plan, and give yourself permission to adjust it as you go.