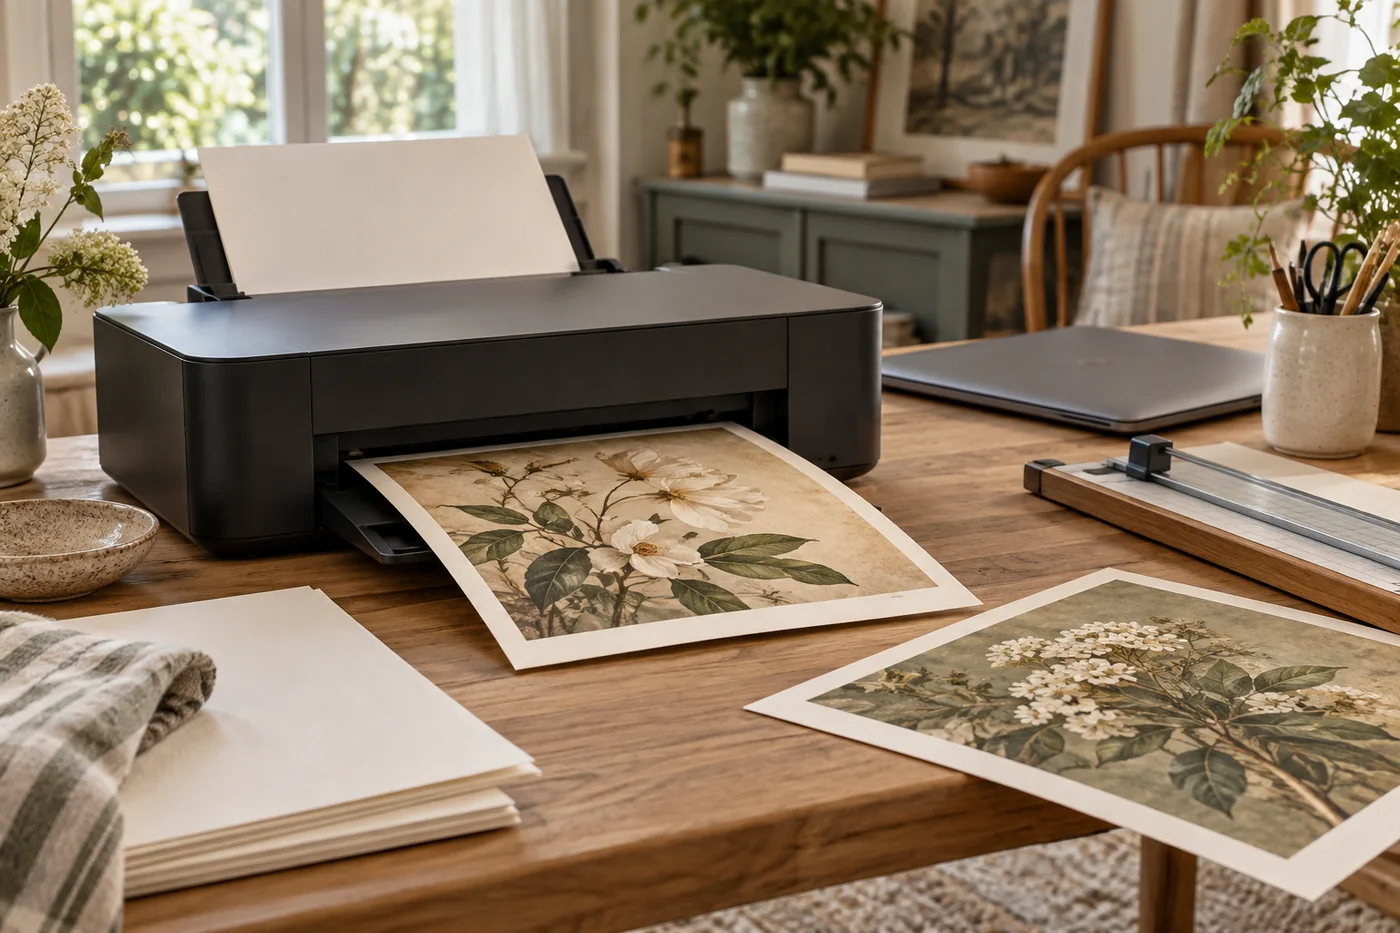
Printing digital wall art at home can be straightforward once the file, paper, and printer settings agree. The most common problems are not mysterious: the design is stretched to fit a different frame, the file is too small for the chosen print size, a borderless setting crops the edge, or the paper choice makes the colors look different from the screen.
Start by reading the download instructions and checking the dimensions of the frame you plan to use. Then print one test on ordinary paper before using your preferred stock. A quick test lets you check the crop, scale, and color without wasting specialty paper or ink.
Check pixel dimensions and intended print size
Digital images are made from pixels. Their pixel dimensions describe how many pixels are available across and down. When printed, those pixels are spread over a physical size; a larger print from the same file has fewer pixels per inch than a smaller print. PPI (pixels per inch) is a way to describe that relationship, not an independent source of detail. Adobe’s printed image resolution guide explains how pixel dimensions, resolution, and printed size relate.
Look at the file’s pixel dimensions and the size the artwork is intended to print. Many print workflows use 300 PPI as a common target for a close-viewed art print, but the right resolution depends on the printer, paper, artwork, and viewing distance. Follow the instructions supplied with the digital file and the requirements of your printer or print shop. A low-resolution image may still look acceptable at a smaller size or when viewed from farther away; enlarging it cannot restore fine detail that was not in the original.
If the file includes multiple size folders, choose the one closest to your frame size. Do not assume that a file labeled “large” fits every large frame. The physical size and the image ratio both matter. If you need to learn how ratios map to common frames, use the printable wall art size guide.
Match the aspect ratio before printing
An aspect ratio is the relationship between the short and long sides of an image. If your file is 2:3 and your frame is 8 × 10 inches (a 4:5 ratio), those shapes differ. Forcing the 2:3 file into the frame can stretch the art or crop part of it.
Use a file that matches your frame ratio whenever possible. If there is no exact match, decide whether a small crop or a mat is preferable. A mat can show the whole print inside a larger frame, while a crop fills the paper area but trims edges. Check that no important leaves, text, or other details sit near the crop before choosing that option. Keep the width and height linked in your print or image software; changing them independently distorts the design.
JPG, PNG, and PDF: which file should you use?
Use the file format supplied for the artwork and follow the seller’s print instructions. A JPG is commonly used for photographs and artwork with continuous color. Saving a JPG at a lower quality setting can introduce visible compression, so avoid repeatedly opening and resaving it. A PNG can preserve sharp edges and does not use the same lossy compression, though its file may be larger. A PDF can keep a page size and layout together, which can be useful for a print-ready page, but the settings depend on how the PDF was made and what your printer software supports.
These formats are not interchangeable in every workflow. If a download includes both a PDF and a JPG, compare the instructions: one may be intended for a specific paper size or printer. Do not convert a small image to another format expecting it to gain detail. Changing the container does not add pixels.
Choose paper for the artwork and the room
Paper affects the final look as much as the image itself. Matte paper has a low-reflection surface and often suits soft botanical art, muted palettes, and vintage-inspired designs. Glossy paper reflects more light and can make some colors appear punchier, but reflections can make a framed print harder to see in a bright room. Luster or satin papers sit between the two, though names and finishes vary between manufacturers.
Check that the paper is compatible with your printer. Inkjet and laser printers use different processes, and paper made for one type may not be suitable for the other. The paper packaging or printer manual should specify compatibility and supported weight. If you are uncertain, begin with a small sample or use paper recommended by the printer manufacturer.
For a home gallery, choose a finish that feels consistent across the set. Slight differences in paper color or sheen can be noticeable when prints hang side by side. If the artwork is designed with a warm background, very bright white paper may change the impression; a natural-white paper can be closer, depending on the printer and stock.
Set the printer dialog deliberately
Before printing, select the correct printer, paper size, and media type. The paper type tells the printer how to lay down ink or toner; a mismatch can affect color and drying. Choose a print-quality setting appropriate for the artwork and paper, and check that “fit to page” or “scale to fit” is not silently changing the size you need.
Printer dialogs differ, so the labels may not match these exact terms. Use the manufacturer’s instructions for your model. If the print should be a particular size, compare the preview or print dialog’s dimensions before you send the job. Disable any automatic enlargement or reduction when you need the artwork to keep an exact scale. If you are printing a PDF, check both the PDF viewer’s settings and the operating system’s printer settings.
Borderless printing can trim the edge
Borderless printing asks some printers to extend the image beyond the paper edge so no white border remains. This may crop a small amount from the image. The exact behavior varies by model and setting; Epson’s printer documentation, for example, describes image expansion and cropping in borderless mode. Check your printer’s manual if the art has a fine border or important detail close to the edge.
If you want a white border, leave borderless printing off and let the paper margins remain. If the artwork is intended to print to the edge, use the file and paper size specified by the seller and inspect a test copy first. Leave a little breathing room around any text or fine linework when you can.
Expect some color difference
A screen emits light, while a print reflects light. They display color differently, so a print may not look exactly like the image on a bright monitor. The paper’s white point, printer, ink or toner, selected media type, and surrounding light can all affect the result. A screen with high brightness can make a print seem dull by comparison.
Start with the printer’s normal color settings and use a test print as your reference. If colors look unexpectedly dark, check the media type and print settings before editing the artwork. Avoid changing several color controls at once; it becomes difficult to know which adjustment helped. If you need a close match across a large set or the artwork is especially color-sensitive, a professional print service can provide advice and may offer a proof.
Avoid stretching and repeated resizing
Keep the original aspect ratio locked when changing print dimensions. If the software asks whether to crop, fit, or fill, understand what each option does: fitting can leave a margin, filling can crop the edges, and stretching changes the shape of the artwork. Use the file designed for your intended frame size whenever the seller provides one.
Avoid repeatedly resizing and resaving the same file, especially as a compressed JPG. Keep an untouched copy of the original download, then make one working copy if you need a different size. If the software offers a no-resampling option, it changes the relationship between pixels and physical size without adding image data; resampling changes the pixel dimensions. Adobe explains this distinction in its image size and resampling guide.
Print a test, then check the frame
Use plain paper for the first check. Hold the test print in the frame, look at the crop, and confirm that the design sits where you expect. If the test looks soft, compare the file’s pixel dimensions with the intended size before increasing it. If it looks too dark or too saturated, review the media and quality settings before changing the image itself.
Once the test is right, print on the final paper and let it dry or settle according to the paper and printer instructions. Trim only after checking the frame opening and any mat. Save the final settings or take a screenshot of the dialog if you expect to print a matching set later.
When a print shop is the better fit
A print shop is worth considering for sizes larger than your printer supports, specialty papers, artwork that needs a consistent set of colors, or a finish you cannot produce at home. Ask what file type and pixel dimensions it needs, whether it trims to the edge, and whether the quoted size includes a border. Share the intended frame size and ratio so the shop can flag a possible crop before printing.
Home printing is most enjoyable when you treat the first copy as a proof. Check the file, match the ratio, use compatible paper, and look at the printed size before committing to the final sheet. That small pause protects the details in the artwork and makes the finished print much more likely to feel right in your space.