You have found the right artwork, but the size options look like a puzzle: 2:3, 3:4, A-series, 5:7. Which file fits the frame you have, and how large should the finished print be? The answer starts with proportion. A ratio describes the relationship between the short and long sides of an image; it does not describe one fixed size.
Once the ratio matches your frame or print plan, choosing a physical size becomes much simpler. This guide covers the common proportions, what tends to work above furniture or in a small room, and what to check before sending a file to a home printer or print shop.
What a print ratio tells you
A ratio compares the width and height of an image after reducing them to their simplest relationship. A 2:3 design might be 4 × 6 inches, 8 × 12 inches, or 16 × 24 inches: every example has the same proportions. A 4:5 image is a little squarer than a 2:3 image, regardless of its final dimensions.
The frame and artwork need compatible proportions. If they do not match, you may need to crop the image, leave a border, or use a mat. Cropping can remove part of the design, so check the edges before printing. A mat creates a border between the artwork and frame, and can make a smaller print fit a larger frame when the opening is cut to the print’s dimensions.
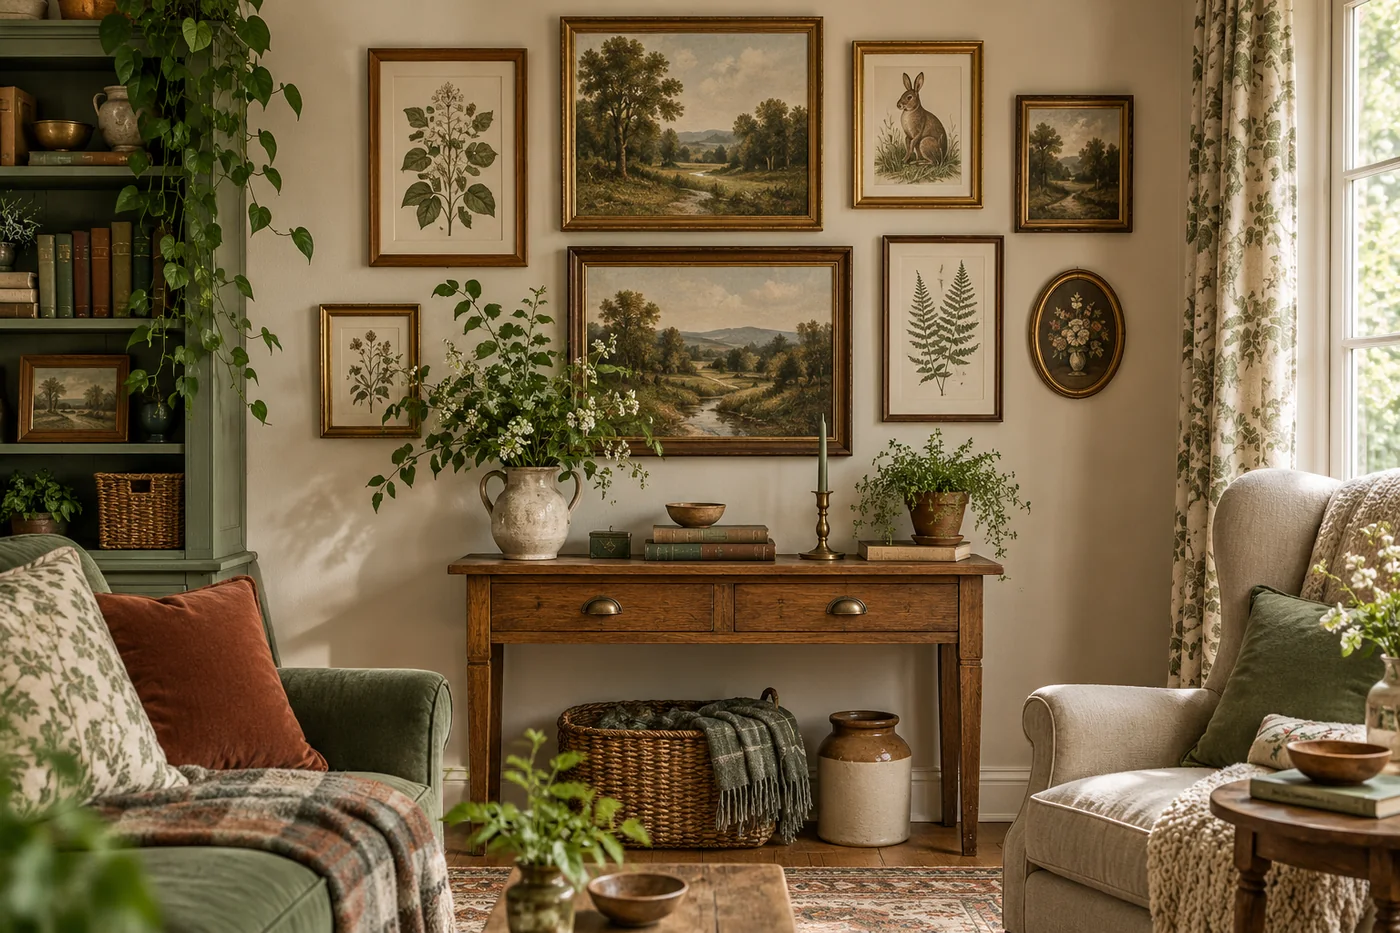
Digital art listings may include several files to accommodate different ratios. Read the listing’s size guide rather than assuming one file fits every frame. If you are choosing art for a gallery wall, decide which frame sizes you want first, then select artwork with matching proportions. That makes a collected arrangement easier to plan. For the layout itself, see our guide to creating a cottagecore gallery wall.
Common ratios and the sizes they suit
2:3: tall and familiar
The 2:3 ratio is common for portrait photographs and many wall art files. It scales to sizes such as 4 × 6, 8 × 12, 12 × 18, and 16 × 24 inches. These are examples, not a promise that every download includes each size. Check the actual files provided.
Its taller shape can work well on a narrow wall, beside a doorway, or as part of a gallery wall with mixed orientations. Above a small bedside table, an 8 × 12 print may feel more considered than a very large image. Above a wider piece of furniture, a pair of prints can use the height without needing one oversized frame.
3:4: a slightly fuller portrait
The 3:4 ratio appears in sizes such as 6 × 8, 9 × 12, and 12 × 16 inches. Compared with a 2:3 image, it is a little wider for the same height. It is a useful option when a tall print looks too narrow but you still want a portrait format.
A 3:4 file may suit common frame dimensions, though availability varies by market and frame range. Verify the finished opening size, not just the outside measurement of the frame. A mat reduces the visible opening and can make the proportions of the framed piece look different from the paper itself.
4:5: a compact, balanced portrait
The 4:5 ratio is closer to square. Common examples include 8 × 10, 12 × 15, and 16 × 20 inches. You will often see 8 × 10 and 16 × 20 frames, which makes this ratio practical when you want a generous image without an especially tall shape.
An 8 × 10 print can work in a small space, on a narrow shelf wall, or among smaller works in a gallery. A larger 16 × 20 piece can hold its own above a desk or reading chair, depending on the size of the furniture and the available wall. The ratio makes a good choice when the image’s subject benefits from a little more width.
5:7: a classic frame proportion
The 5:7 ratio corresponds to sizes such as 5 × 7, 10 × 14, and 15 × 21 inches. It is close to the proportions of many greeting cards and small art prints. A 5 × 7 frame is easy to place on a shelf, desk, or bedside table, while a larger version can work as one note among several frames.
Because frame availability differs between stores and countries, check the exact dimensions before you buy. Some frames described as “5 × 7” refer to the picture opening, while others include a mat designed to show a smaller image.
ISO A-series: the paper sizes used in many countries
The A-series follows the ISO paper system: A4 is 210 × 297 mm, A3 is 297 × 420 mm, and A2 is 420 × 594 mm. Each size keeps the same shape as the others, so an image designed for A4 can scale proportionally to A3 or A2. This is convenient if you print on standard paper or shop for metric frames.
The A-series proportion is not the same as 2:3, 3:4, 4:5, or 5:7. If you place an A-series print in a frame made for a different ratio, a mat can bridge the difference, or you may need to crop. A-series sizes are particularly useful for home printing in regions where A4 paper is standard. Always compare millimeters or inches rather than relying on a frame’s general label.
How large should art be above furniture?
Think about the width and height of the furniture, the open wall around it, and how far away people will view the art. A print should feel related to the furniture below it. One small frame above a wide sofa can appear lost; one oversized picture in a narrow nook can crowd the room.
As a starting point, consider a single print or grouping that takes up roughly half to two-thirds of the furniture’s width. Treat that as a visual guide, not a strict rule. A tall, narrow piece may need less width, while a row of three smaller prints can create the same overall span. Leave a little open wall at the sides so the arrangement does not feel pressed against the furniture’s edges.
For a bedroom, a print or pair above a bedside table can stay relatively modest. Above a desk, the artwork should not compete with shelves, a task light, or a monitor. Hold paper templates against the wall or use painter’s tape to outline frame sizes before ordering prints. Seeing the shape in the room is often more useful than comparing dimensions on a screen.
Choosing sizes for a gallery wall
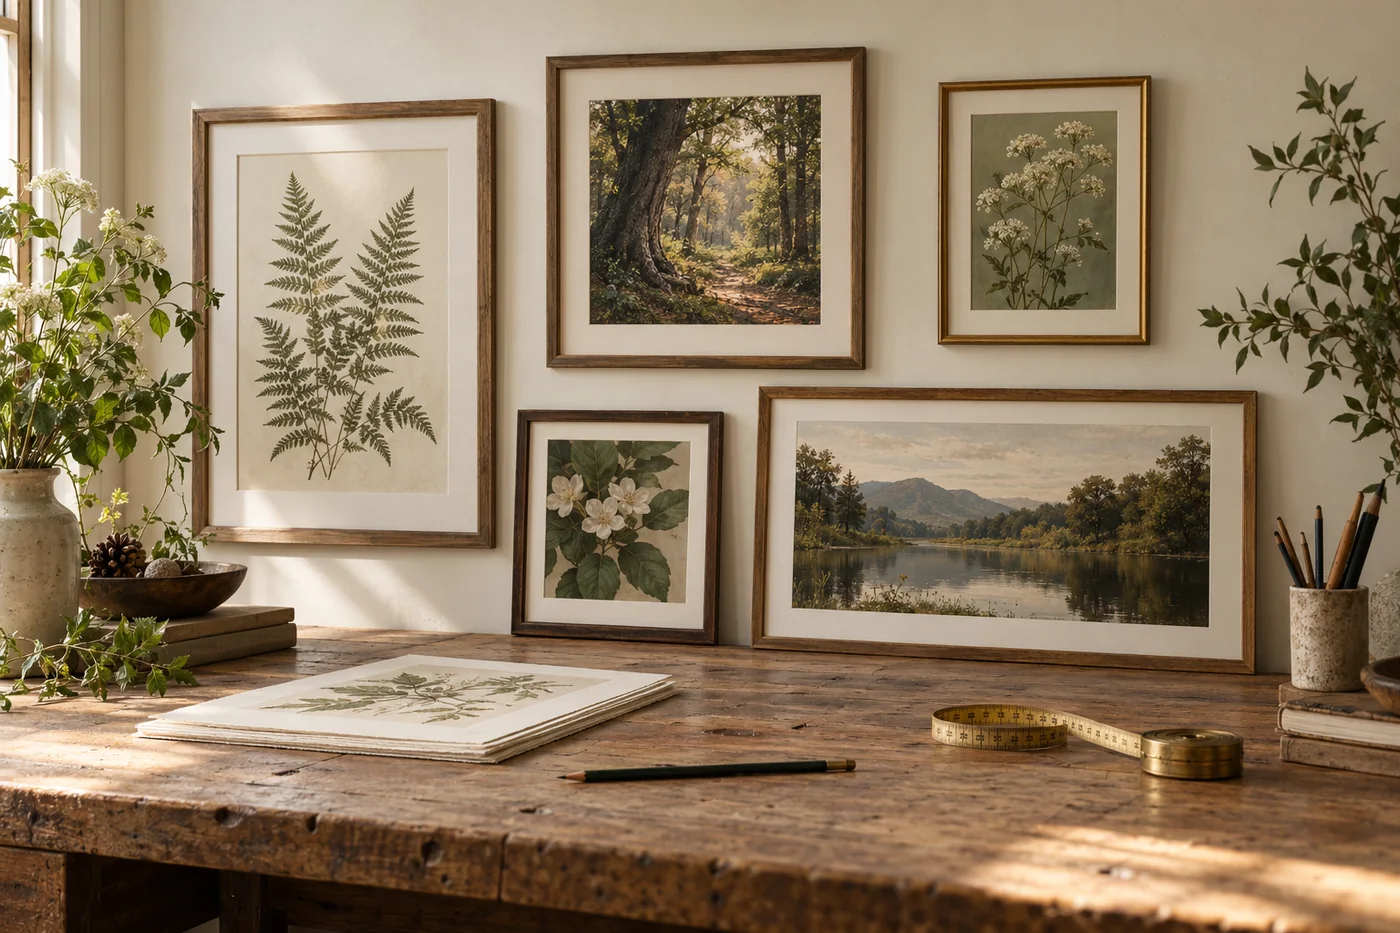
For a gallery, choose a mix of sizes that makes a clear shape: perhaps one or two larger frames, a few medium ones, and some small pieces. The largest print gives the arrangement a visual anchor, while the smaller works help connect the edges. Use similar paper tones, mat colors, or frame finishes to make different ratios feel related.
Before printing, place each frame shape on the floor or tape paper templates to the wall. This helps you spot when a print will feel too small next to another piece, or when two images with similar tones sit awkwardly together. You can mix portrait and landscape orientations, but repeat each orientation at least once if the wall feels unbalanced.
If you plan to change the artwork over time, choose standard frame sizes and keep the digital files organized by ratio. That way, replacing one print later does not require buying a new frame.
Home printing or a print shop?
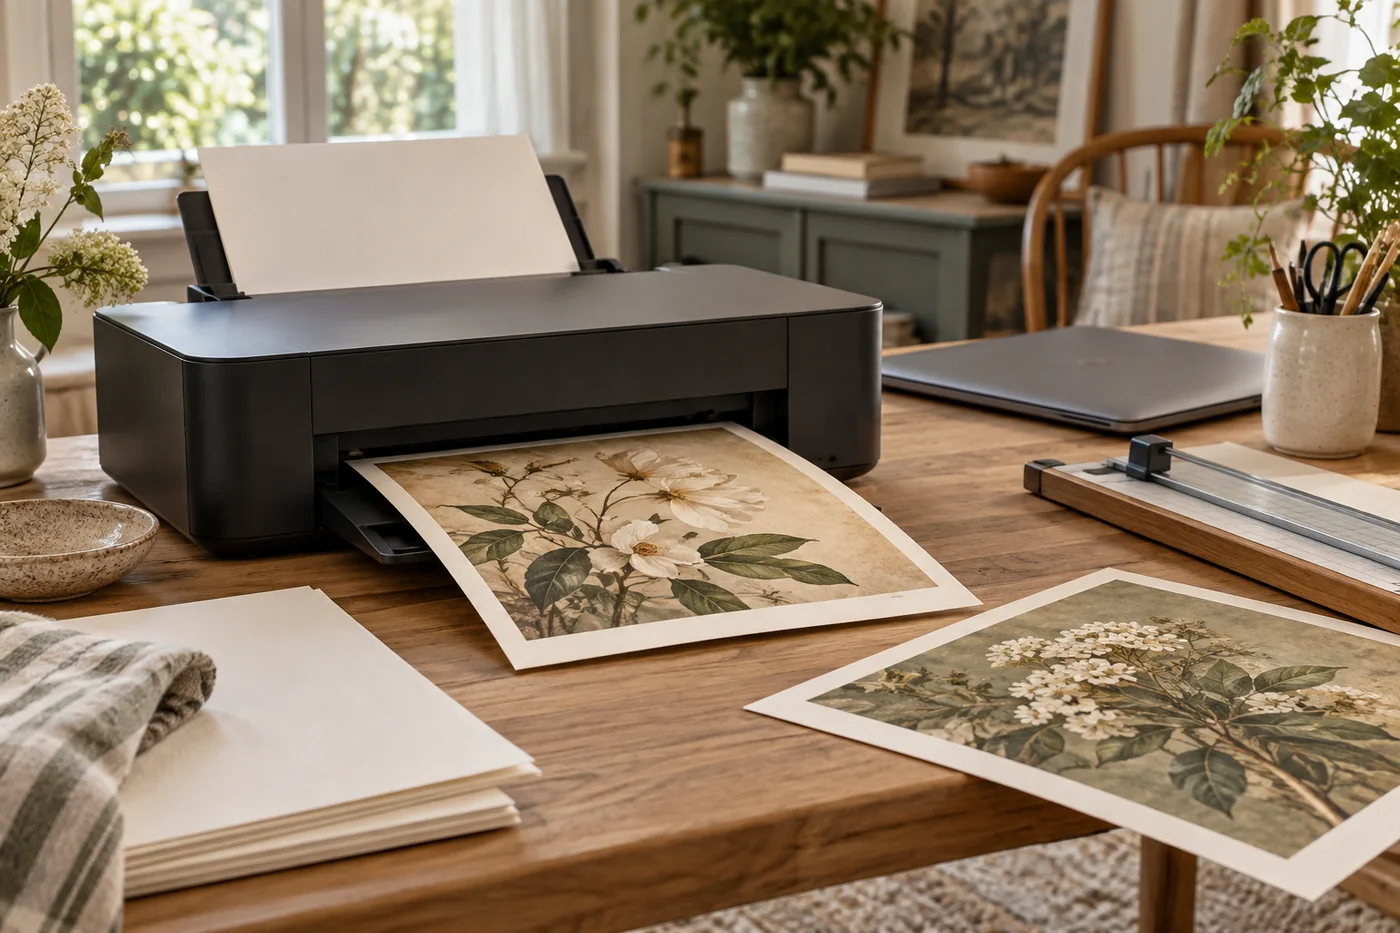
Home printing is convenient for smaller sizes, test copies, and artwork you want to change often. Use paper that suits your printer and the style of the image. Matte paper reduces surface shine and can feel especially comfortable for botanical or vintage-inspired art. Glossy paper creates a more reflective finish and may make colors look more vivid, but reflections can be distracting under direct light.
A print shop can be helpful for larger formats, specialty papers, or a consistent set of prints. Ask what file formats and dimensions they accept and whether their process trims to the edge. A shop may provide a proof or color profile; follow its instructions instead of guessing at printer settings. For a full walk-through of home printing, read how to print digital wall art without losing quality.
Frames, mats, and the visible image
Measure the frame opening, not only the frame’s outside edge. If a frame includes a mat, find the opening size and the recommended print size. A mat often hides a small border around the paper, so make sure important details are not too close to the edge. If the mat opening is smaller than the artwork, a little overlap is normal, but it should not cover a title or signature.
You can place art in a larger frame with a custom mat, which can make a small print feel more substantial. A simple white or cream mat gives visual breathing room; a colored mat can be lovely but should relate to the artwork and the room. If you want a borderless look, confirm that both the frame and printer can show the full image at the intended size.
A quick checklist before you print
- Measure the frame opening and write down width and height.
- Confirm the art file’s ratio; do not stretch an image to force a fit.
- Check whether the listing provides a file for your size or ratio.
- Decide whether cropping, a paper border, or a mat will work best.
- Print a small test if color, crop, or paper finish is uncertain.
- Compare the printed paper with the frame before trimming or mounting.
The best size is the one that fits the wall, the furniture, and the way you want to use the room. Ratios make the file choice clearer; a paper mock-up makes the scale real. Take both steps before ordering several frames, and the artwork will be much easier to enjoy once it is on the wall.